This guide explains how, as an administrator or training manager, you can prepare a training session in Cirrus Shield while ensuring that all the necessary data is properly displayed on the learner portal.
1. Creating the session
The first step is to create the training session.
– Go to the Session tab and create a new one.
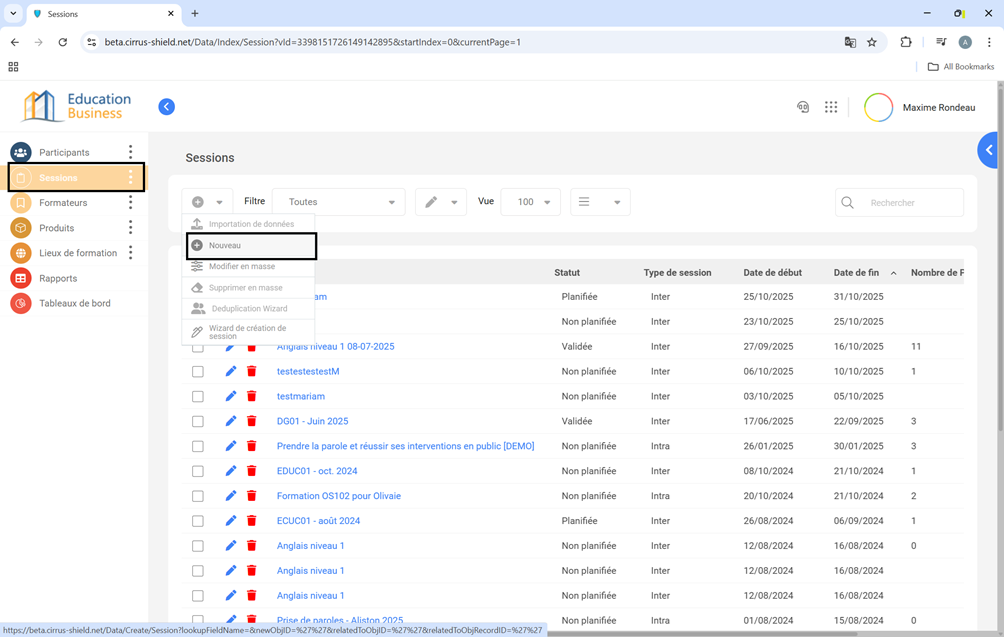
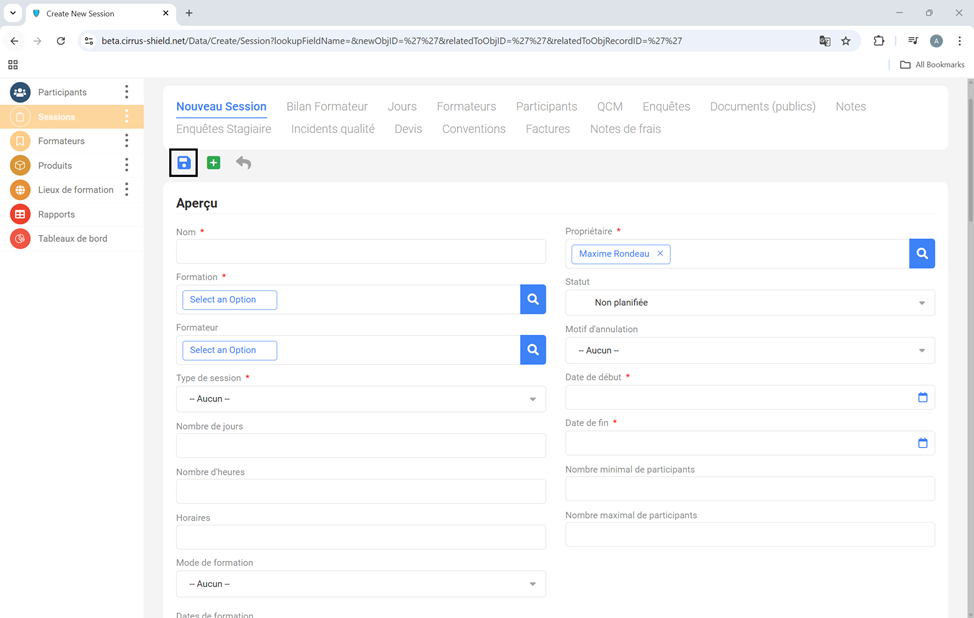
– Fill in the mandatory fields (marked in red), including:
– The session name
– The related training
– The start and end dates
– The session type
– The location (if known)
– The trainer
– Click Save.
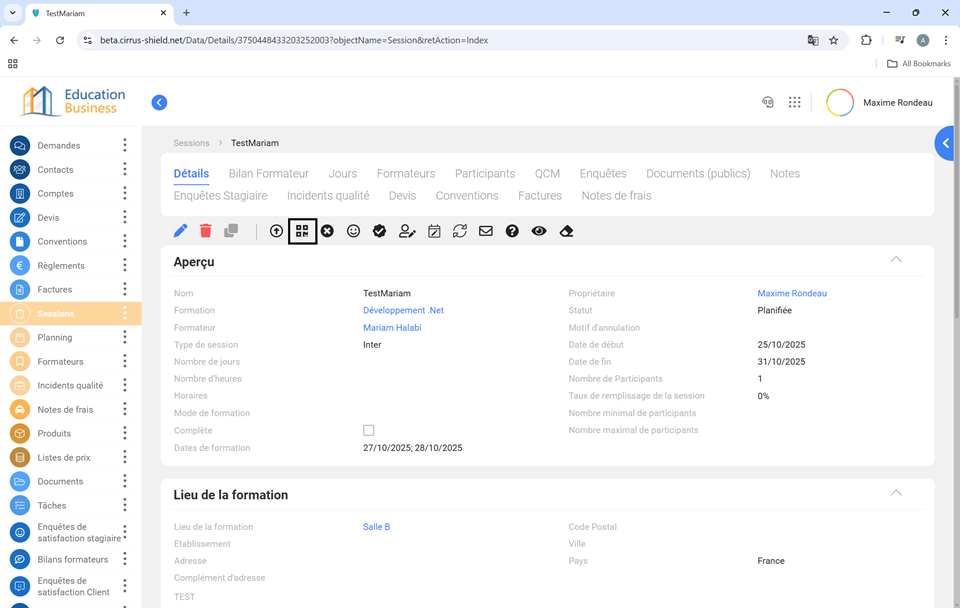
2. Completing the session information
Once the session is saved, you must synchronize it with the training product information.
– Click the Complete session information button.
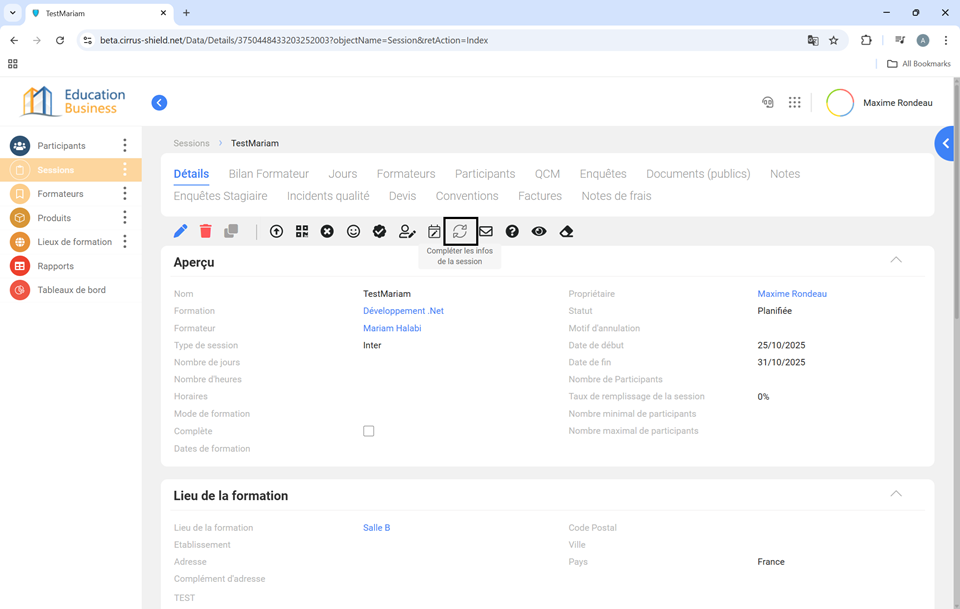
This action will automatically retrieve the training details, such as:
– Number of hours and days
– Training mode
– Minimum and maximum number of participants
This button also generates the preconfigured quizzes (QCM) and surveys associated with the training — such as the initial and final quiz or the satisfaction survey.
3.Creating a Participant
To create a participant:
– Click on the Participant tab, then press the New button.

– Fill in the required fields (First Name, Last Name), then click Save.
4. Managing the Schedule and Attendance
Next, you need to define the training days and times.
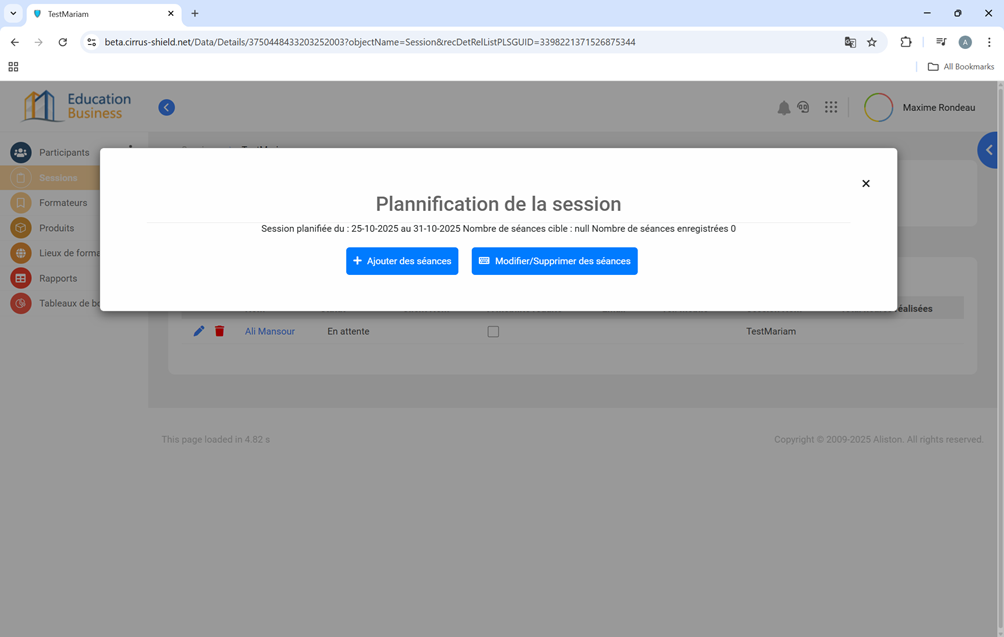
– Use the “Manage schedule” button to define the training days.
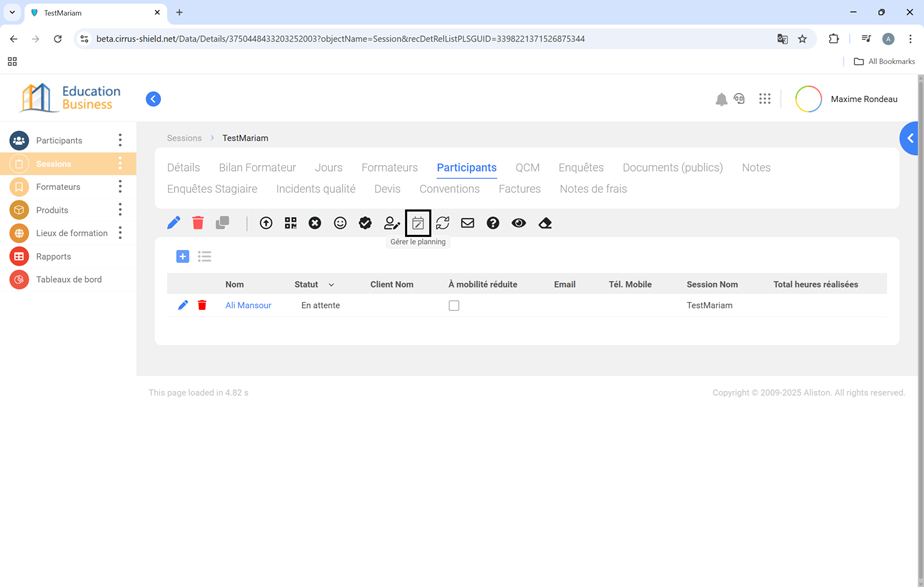
– Choose “Add sessions” or “Edit/Delete sessions”.
Adding sessions:
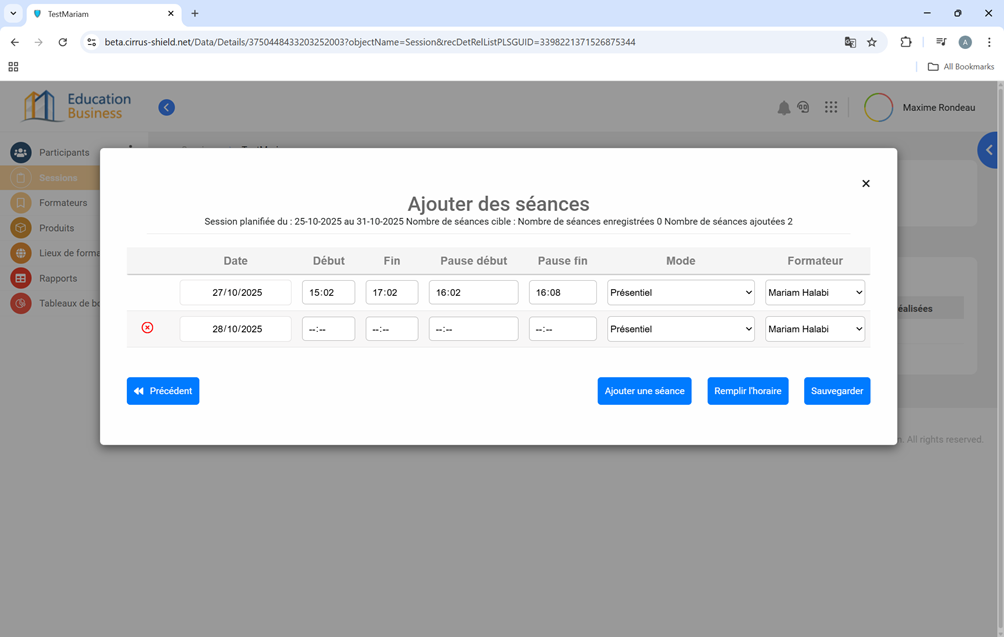
– If the schedule is the same each day, fill in the first line, then click the “Fill schedule” button.
– Saving the schedule will automatically create attendance sheets for all registered participants.
4. Preparing Documents for Learners
Vous pouvez partager des documents avec les apprenants de deux manières :
You can share documents with learners in two ways:
a) Session-specific documents:
For documents like the training program, go to the Public Document section directly on the session page. Click New.
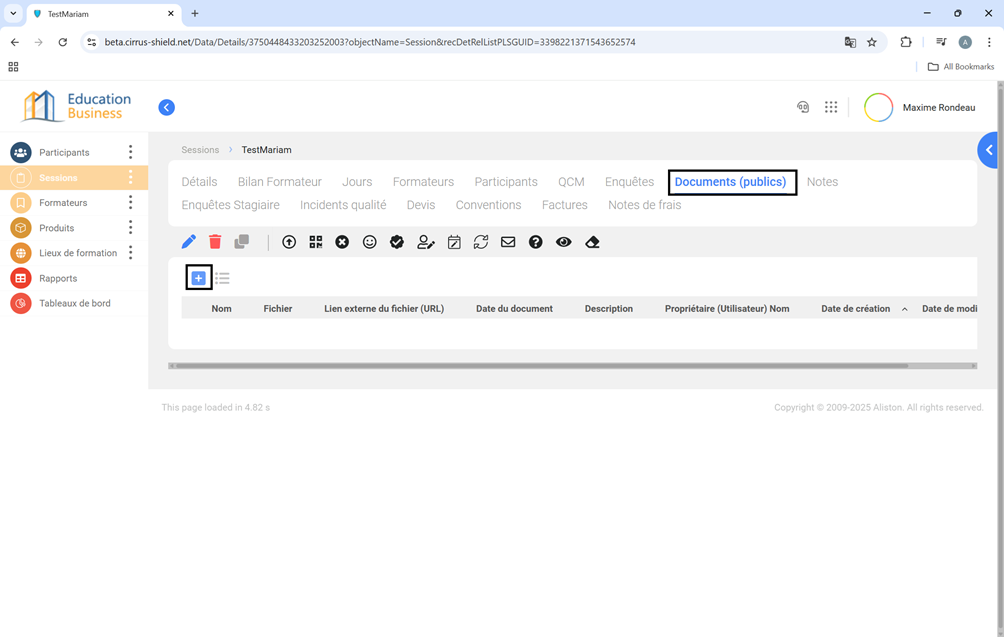
– Fill in the necessary fields, and click Upload to add a document.
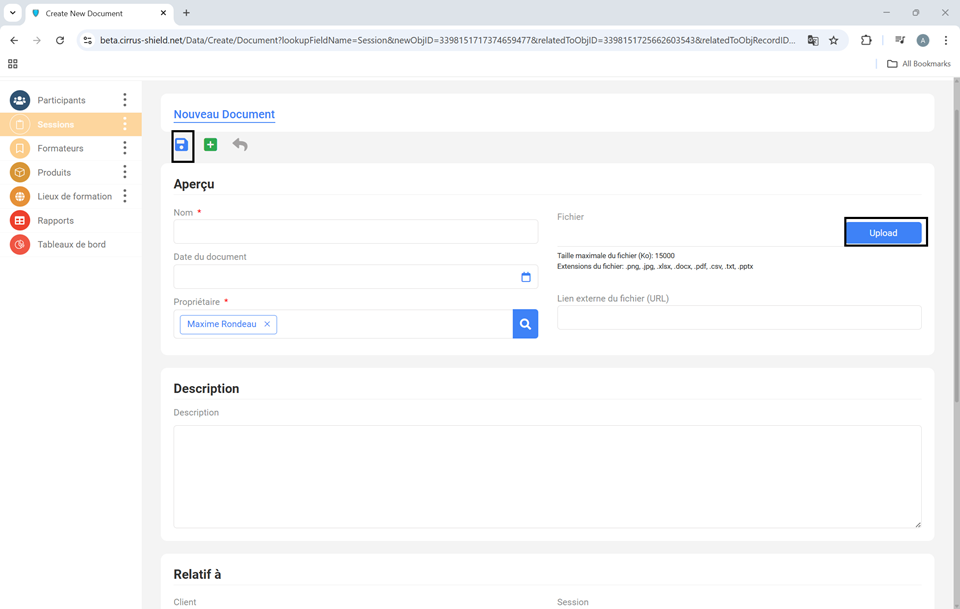
– You can set a document date so it becomes available only after a certain day.
– Click Save.
b) Documents visible across all trainings:
– For general documents (e.g., welcome guide, code of conduct), go to the main Documents tab.

– Create a new document without linking it to a specific session.
– Check the box “Visible to all learners.”.
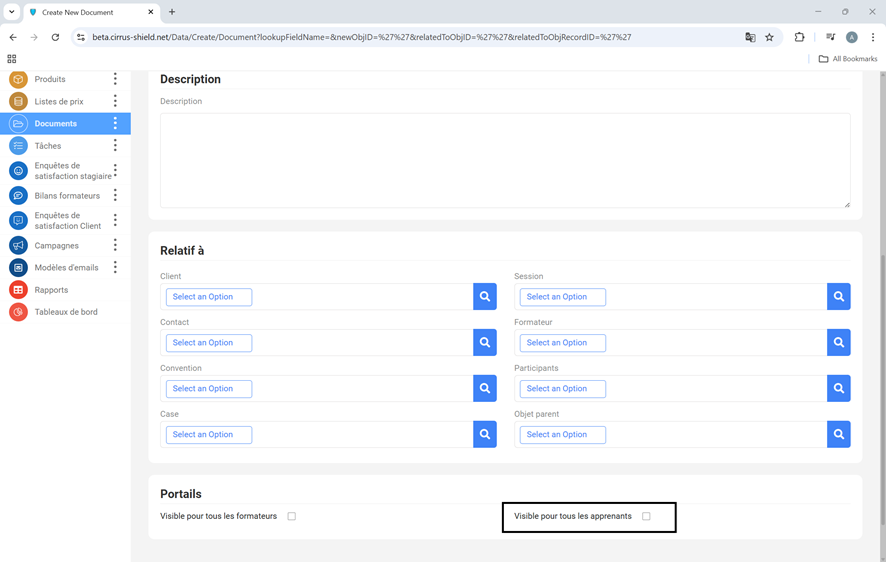
– Then click Save.
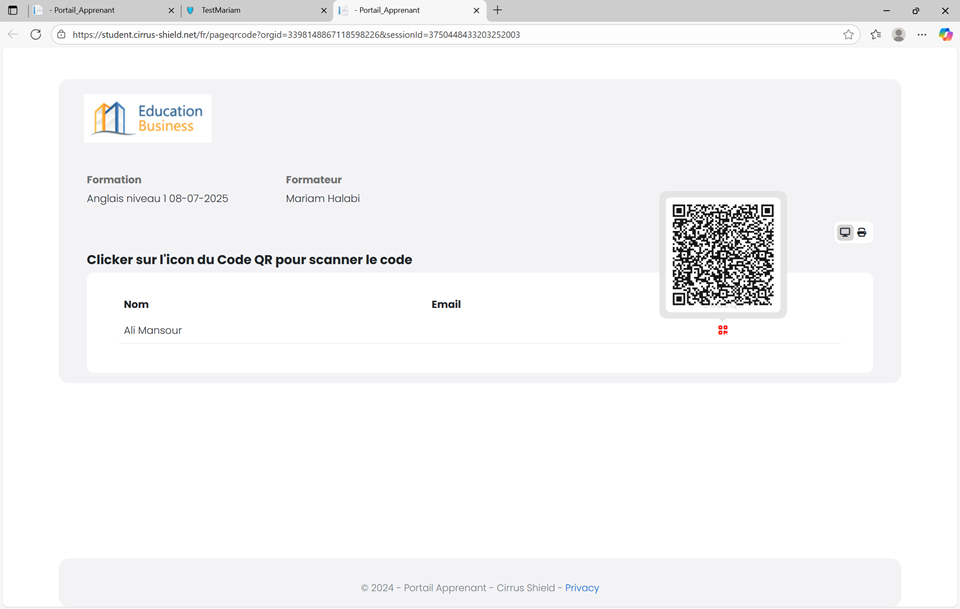
5. Verifying the Learner Portal
Once these steps are complete, the session is ready to appear on the learner portal.
You can simulate a learner’s access:
– Go to the session details page, and click “Generate QR codes.”
– You’ll get a page listing all participants, each with their own unique QR code.