By connecting HelloSign to Cirrus Shield you benefit from the e-signature feature that allows your team to send documents that need to be signed and save them to their activity. E-signature speeds up your work, improves document processing times and reduces sales cycles.

1- Subscribe to HelloSign
Cirrus Shield plugin for HelloSign requires an API price. You should create a HelloSign account before proceeding with the next steps.
Once your HelloSign account has been created, you will need to retrieve the API key and the Client ID to configure the plugin.
Sign in to your HelloSign account then go to this page.
To retrieve the API key, click on “Generate the API key” or “Display the key” if it has already been generated.
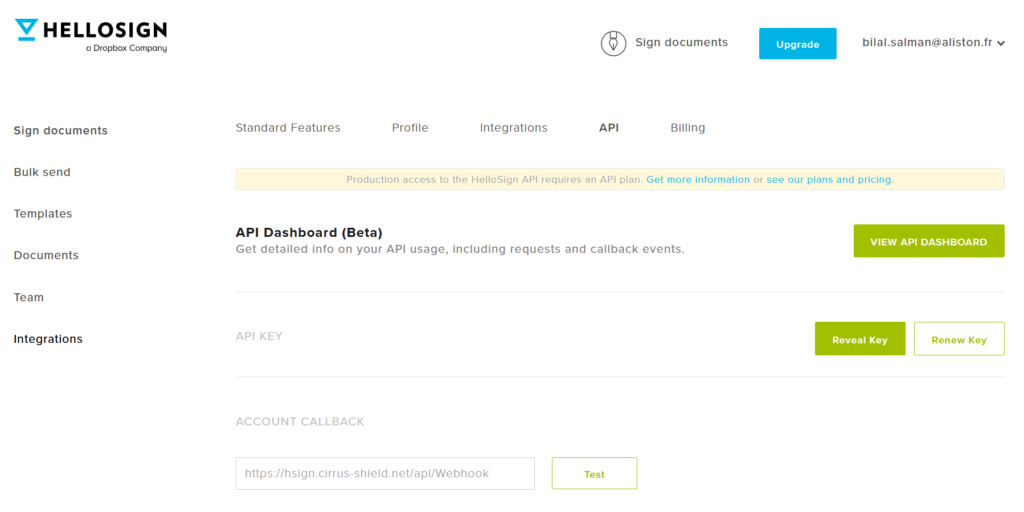
To retrieve the Client ID, you need to create an API Application. To do this, click on “Create” an API application. Complete the form as follows, replacing [ClientName] with the name of your company
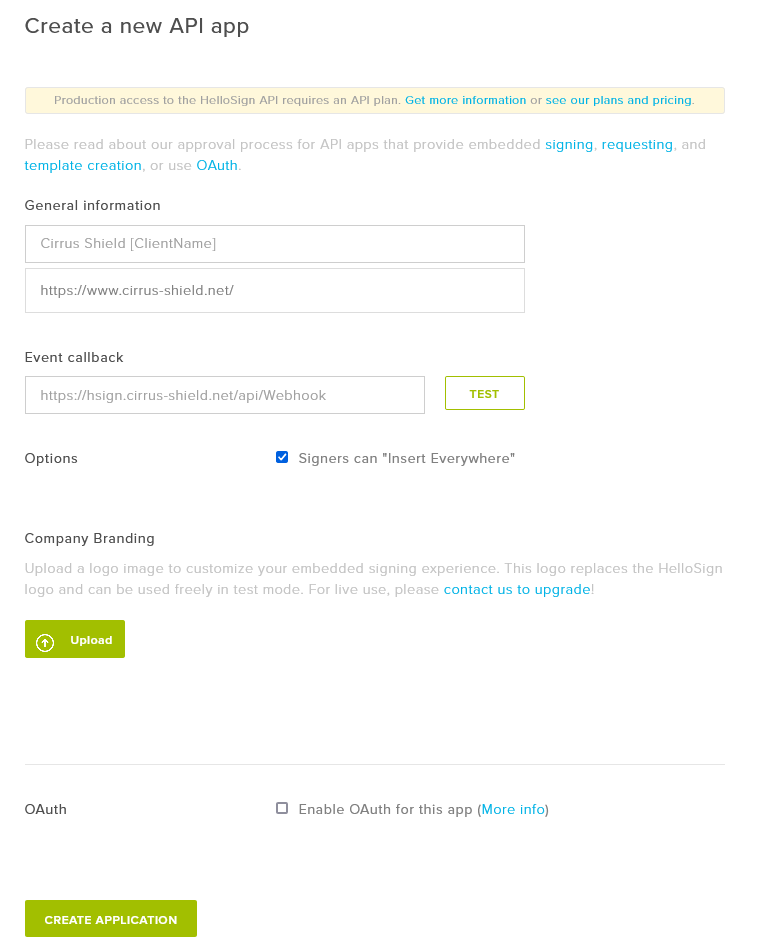
Click on the “Create an Application” button to create the application configured in this way. Now you have the Client ID that you can copy in the configuration page of the Cirrus Shield connector for HelloSign.

2- Log in to Cirrus Shield CRM to confiure the HelloSign plugin
- Go to Setup Menu (by clicking on your name at the top right)
- Click on “Plugins” (on your left) > New Button> Plugin HelloSign > Install.
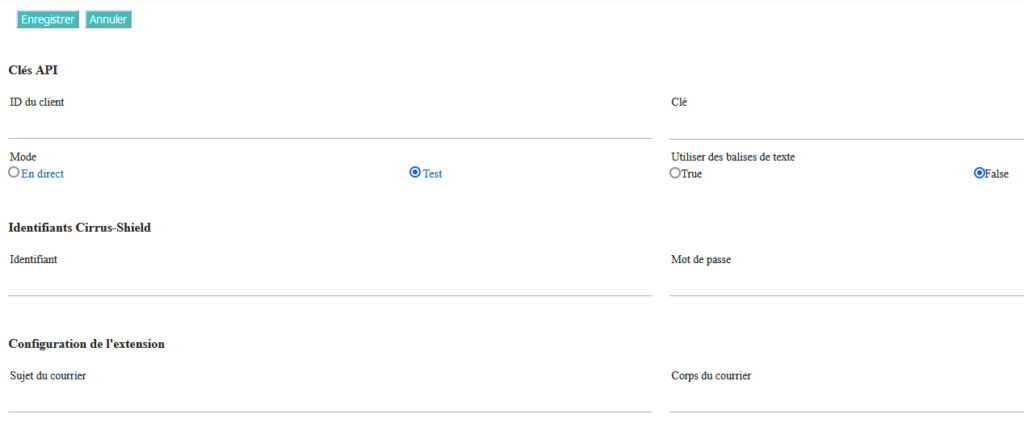
- Enter the Client ID and API Key you obtained previously in the corresponding fields.
- Our plugin supports signature tags, allowing you to insert tags in the document to be signed and which will contain the signatures. If you want to use this feature in your document templates, check the box next to “Use text tags”. If you don’t want to use this feature or don’t know what it is, we recommend leaving this box unchecked.
- Log in to your Cirrus Shield account (username and password)
- Configure the plugin by inserting:
- The subject of the email : this text is used in the subject of the email that is sent to the signatories.
- The body of the email : this text is used in the body of the email that is sent to the signatories.
3- Check the configuration of the Document object
The document’s signature status is automatically updated by HelloSign in Cirrus Shield. HelloSign updates the field « Signature_Status ». You therefore have to make sure this field is present on the Document object and that it contains the following values :
| Field label | API Name |
| Sent for signature | signature signature_request_sent |
| Viewed | signature_request_viewed |
| Signed | signature_request_all_signed |
| Refused | signature_request_declined |
| Email incorrect | signature_request_email_bounce |
| Error | signature_request_invalid |
| Error | file_error |
| Error | unknown_error |
4- Add the HelloSign button in the “Documents” module
- In your Cirrus Shield interface, click on Setup > Objetcs > Détails of Document object > onglet Boutons personnalisés.
- Creatze a new button and name it “Send for Signature”. Configure this button as follow :
- Label : Envoyer pour signature
- Icon : pen
- Display type: DetailPageButton
- Behavior: ExecuteJavaScript
- Fonction To Call : send_to_sign()
- Function Code :
function send_to_sign() {
    let org = GetOrganizationInfo();
    let recordGUID = GetRecordGUID();
    let myDoc = GetDataByID(recordGUID, "Document", "Contact, File, Name");
    let contact = GetDataByID(myDoc.Contact, "Contact", "First_Name, Last_Name, Email");

    const obj = {
        OrganizationGUID: org.Id,
        SignerName: contact.First_Name,
        SignerEmail: contact.Email,
        CSrecordGUID: recordGUID,
        CSObjectName: "Document",
        CSFieldName: "File",
    };

    var formData = new FormData
    console.log(JSON.stringify(obj, null, "\t"));
    formData.append("SignatureRequest", JSON.stringify(obj));
    var signatureRequest = $('#form1').serializeArray();
    var settings = {
        "url": "https://hsign.cirrus-shield.net/api/HsignManager/SignatureCreateforCS",
        "method": "POST",
        "timeout": 0,
        "processData": false,
        "mimeType": "multipart/form-data",
        "contentType": false,
        "data": formData
    };
$('.loader').show();
    $.ajax(settings).done(function (response) {
$('.loader').hide();
           alert("Signature request sent successfully.")

        //$("#response").append(response);
    });

}
- Save this configuration
- Select the profiles that have access to this button. Profiles that are not selected will not see this button.
- Go to the “Document” Module in the CRM.
- Click on the desired document.
- You will find the button :
5- Create a document in Cirrus Shield
The next step will explain how to add a file in the document Module :
- Create a new document in the “Document” module and upload the file to sign (accepted document types: Word or PDF).
- Associate the contact to whom you wish to send the document for signature.
- Our plugin supports signature tags, allowing you to insert tags into the document to be signed that will contain the signatures. If you want to use this feature in your document templates, check with your administrator if this feature has been enabled.
- Upload the document to Cirrus Shield. You can drag and drop the document on the “Upload” button:
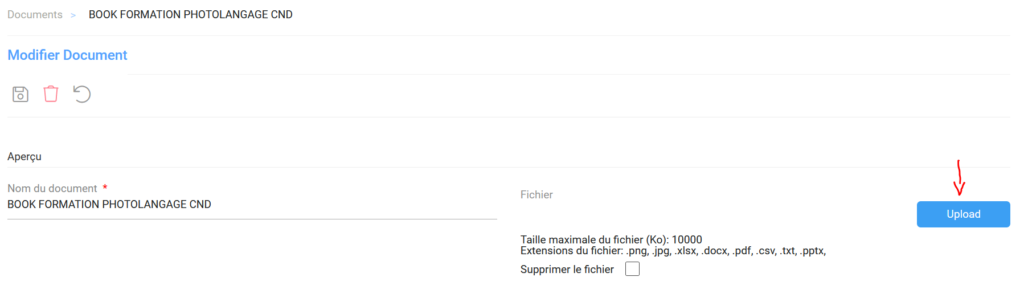
- Click the “Save” button to save the document.
- To send the document for signature to the contact associated with this document, click on the “Send for signature” button.
- Your contact will receive the following email :

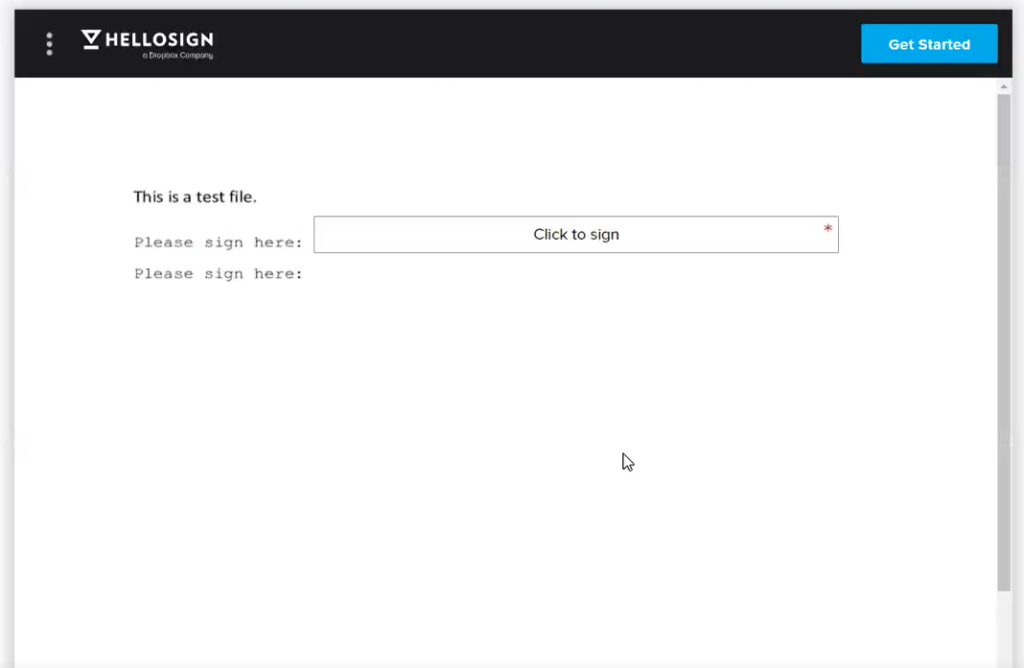
The Customer must click on “Review & Sign”, he will then be redirected to a page where he must click on “Click to Sign” to sign:

You will automatically receive an email from HelloSign if the signer has viewed or signed the document.
The signer also receives a confirmation email when the document is signed.
Once the document is signed, it is updated in the “Document” module in the record. The signed version overwrites the unsigned version of the document.
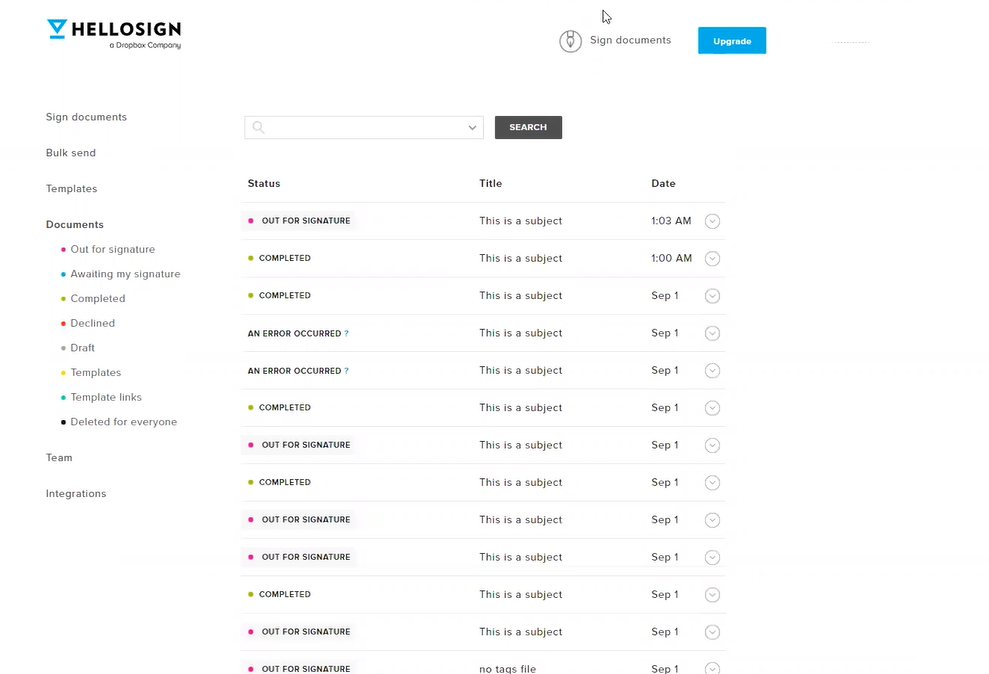
6- Log in to HelloSign to keep track of your documents