Introduction
The objective of this guide is to demonstrate all the available functionalities for a teacher on the teacher portal.
1-Home Page
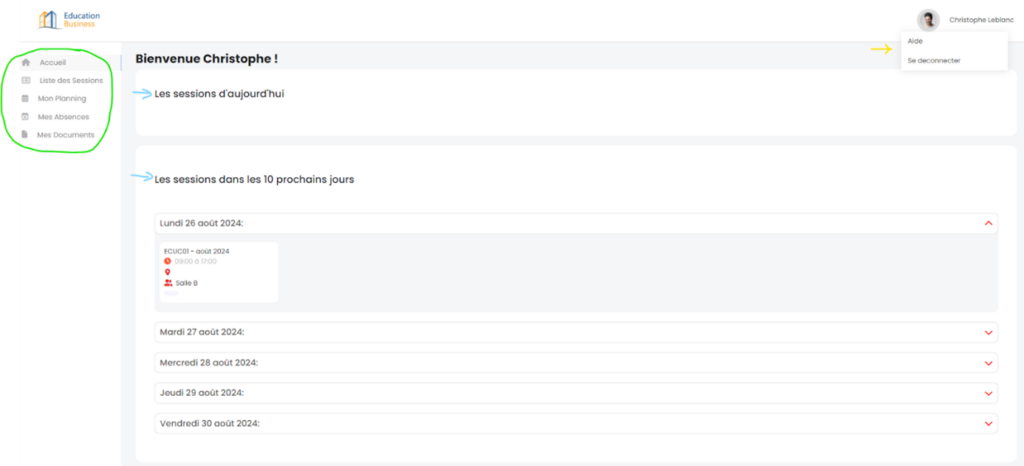
This is the first page that the teacher will see when they log in.
On the left, we have a list of tabs that will be discussed in the upcoming sections.
In the middle, we have two sections. The first displays the sessions with lectures happening today, while the second displays those with lectures occurring in the next 10 days.
The teacher can see a summary of the lecture, such as the location, time, and number of participants.
They can also directly access the relevant session by clicking on its name.
Finally, in the top right corner, we have the teacher’s name with a link to our help site and the option to log out.
2-Session List
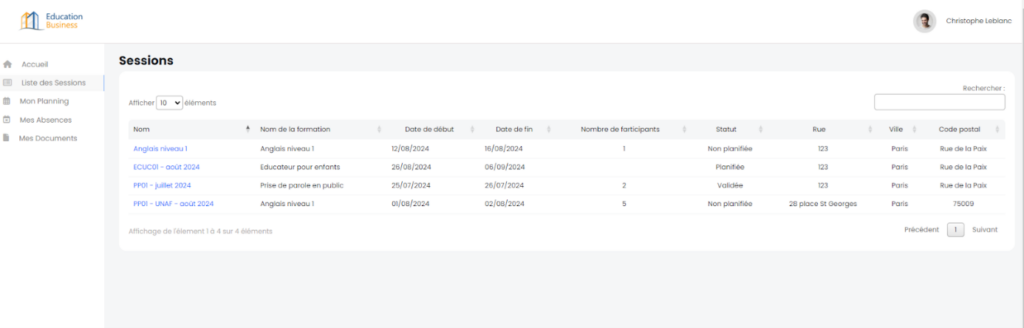
The “Session List” tab allows the teacher to view all the sessions in which they are teaching at least one lecture. To access the session details, click on its name.
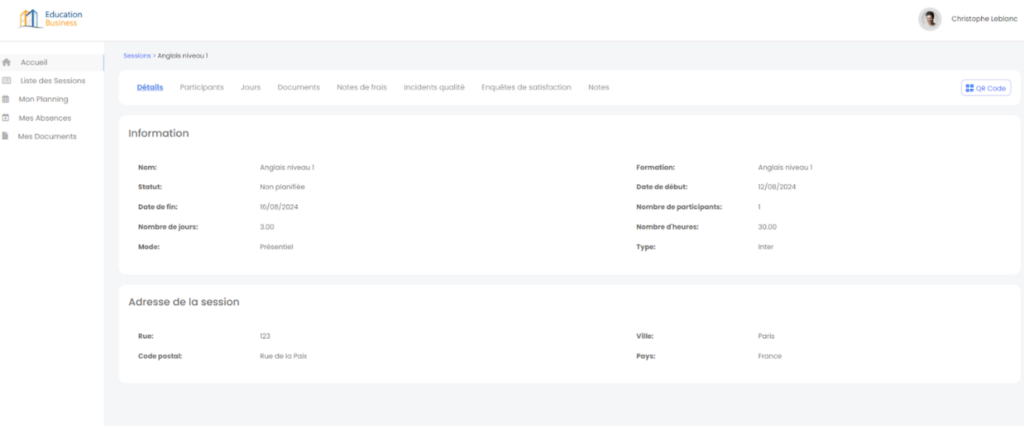
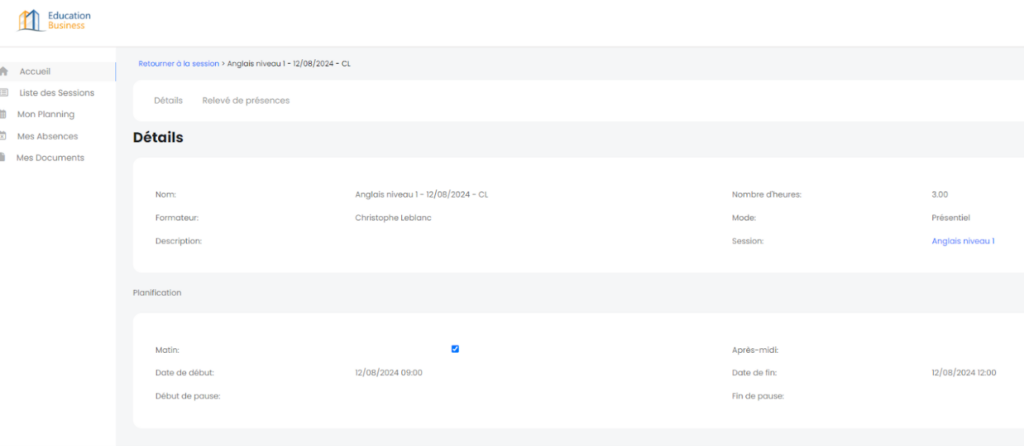
2.1 Details
In the session details, the teacher can view information about the session as well as other tabs at the top of the page, which they can access by clicking on them.
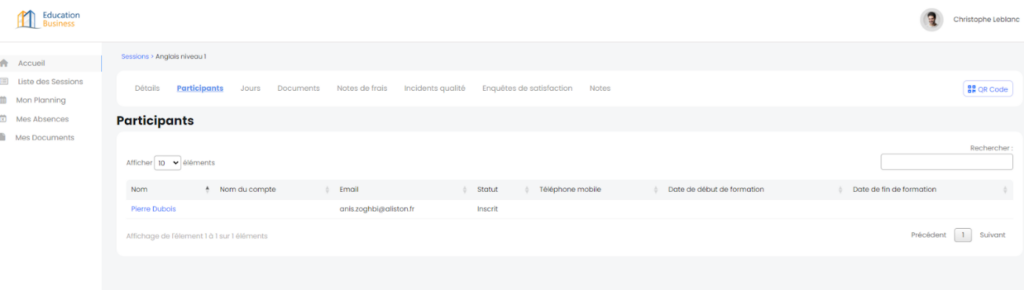
2.2 Participants
The “Participants” tab displays a list of participants for a given session. The teacher can click on a participant’s name to access their detail page.
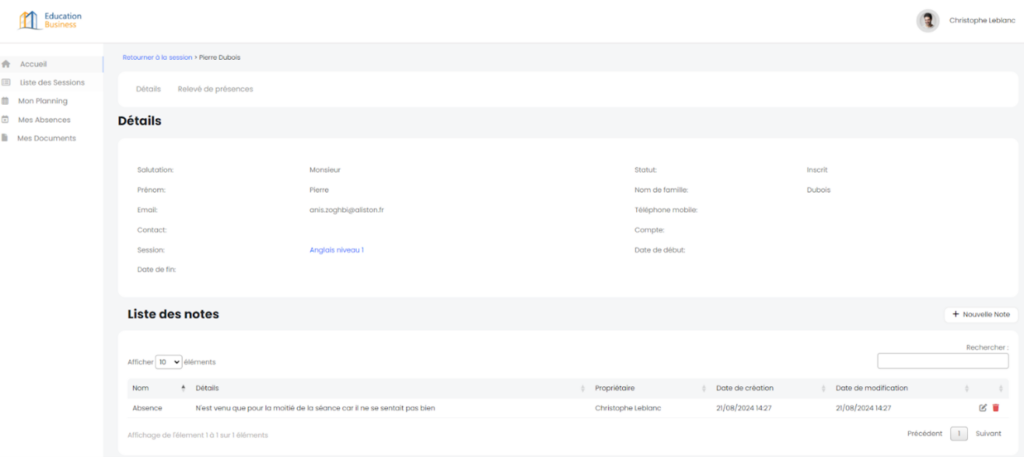
2.2.1 Details
On a participant’s details page, the teacher can view more detailed information about the participant, record notes, and access the participant’s attendance record. Any notes recorded about a participant are directly transmitted to the organization.
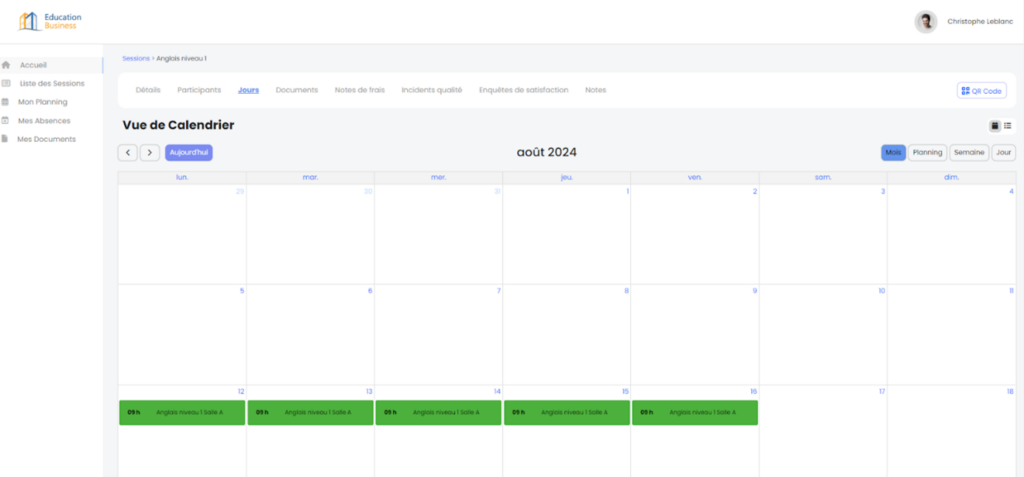
2.3 Days
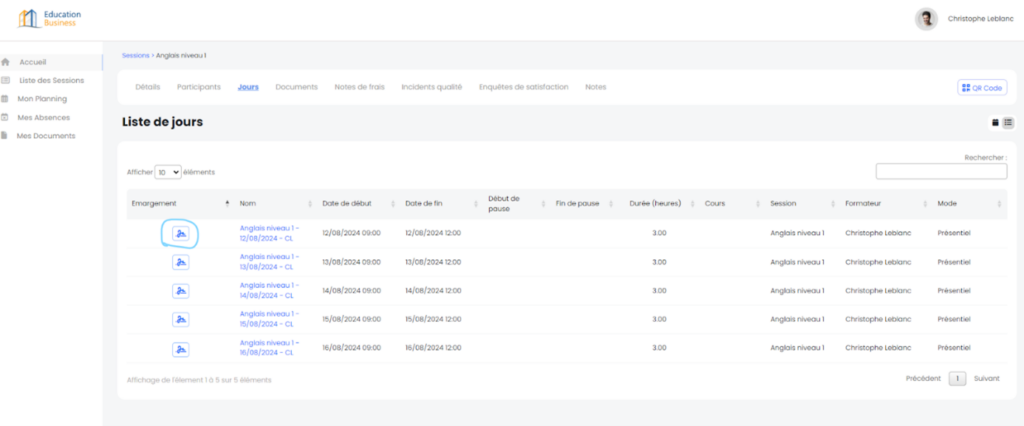
The “Days” tab allows the teacher to see a list of all the lectures in a training. The teacher has the choice between several display modes (month, week, day, and list).
If the teacher clicks on the “List” display mode, a button with a signature icon will appear. If the “Electronic Sign-in” feature has been configured for the organization, the teacher can click on it and access the electronic sign-in sheet where participants will sign in for a lecture directly.
2.3.1 Details
When the teacher clicks on the name of a lecture, they are redirected to the lecture details page. On this page, the teacher can click on the “Attendance Record” tab to modify the participants’ attendance.
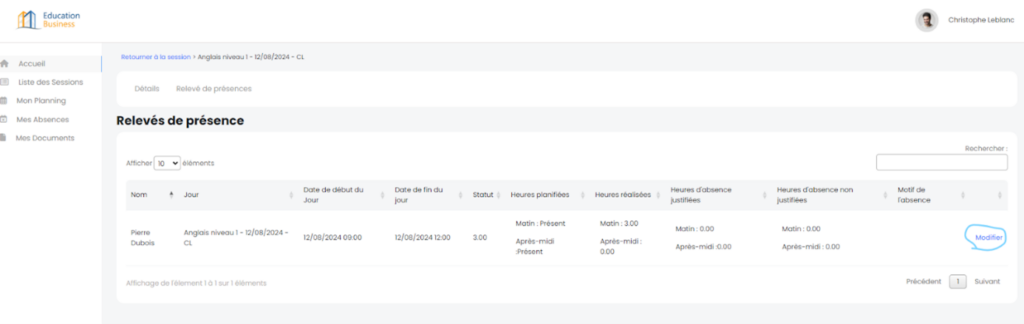
2.2.2/2.3.2 Attendance Record
There are two ways to access the attendance record page: from a participant or from a lecture.
If accessed from a participant, the teacher will see the entire attendance record for the participant across the whole session.
If accessed from a lecture, the teacher will see the attendance record for all participants in that lecture.
On this page, the teacher can click on “Edit” on a row in the attendance record to make changes.
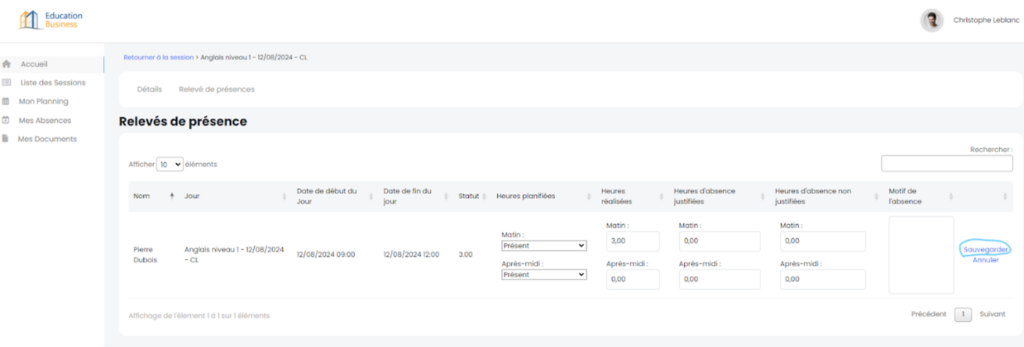
When they click “Edit,” certain fields in the table will become editable, and the teacher can enter the hours completed, justified/unjustified absences, and a status for the morning and afternoon.
Once a row has been modified, the teacher clicks “Save” to apply the changes.
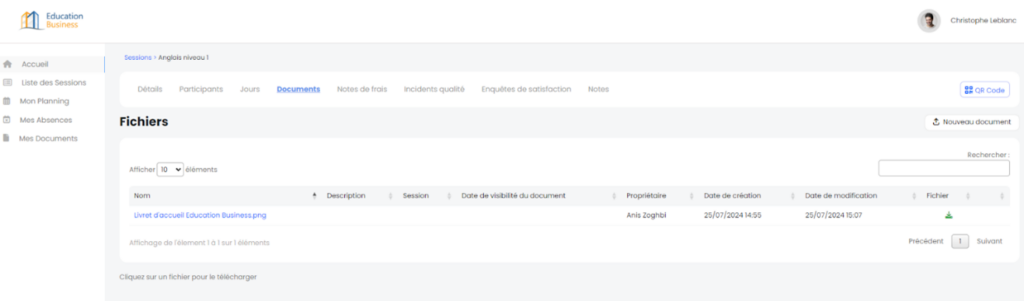
2.4 Documents
The “Documents” tab in a session allows viewing all documents associated with a session.
To download a document, click on its name. The teacher can add documents to this section so that they are visible to participants (Learner Portal).
To do this, click on “New Document.”
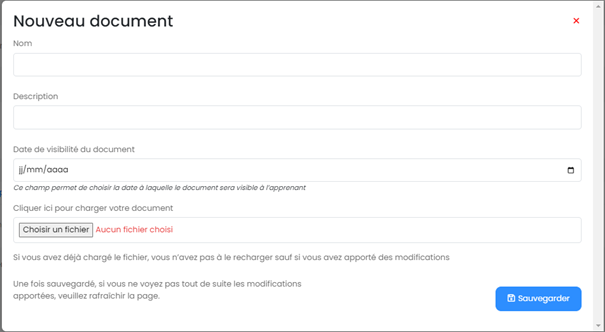
When the teacher clicks “New Document,” a window opens to fill in the document’s information and upload it.
The document’s visibility date is an optional field. This will display the document to participants (Learner Portal) only from the specified date
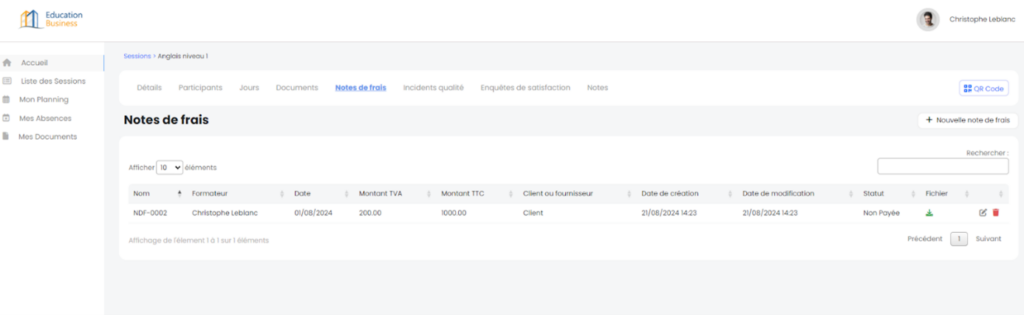
2.5 Expense Reports
The “Expense Reports” tab allows the teacher to record their expense reports. To create a new one, click on “New Expense Report.”
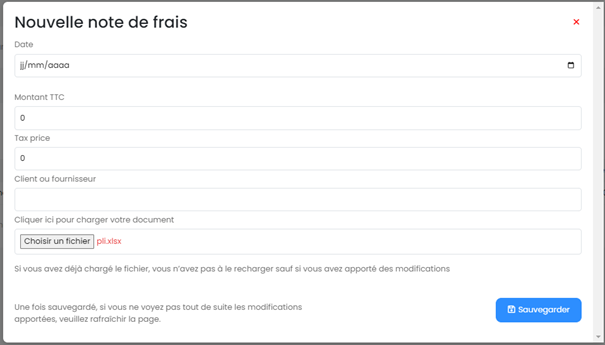
When the teacher clicks on “New Expense Report,” a window opens for the teacher to fill in the information for this expense report.
The teacher can also upload a supporting document for this expense report
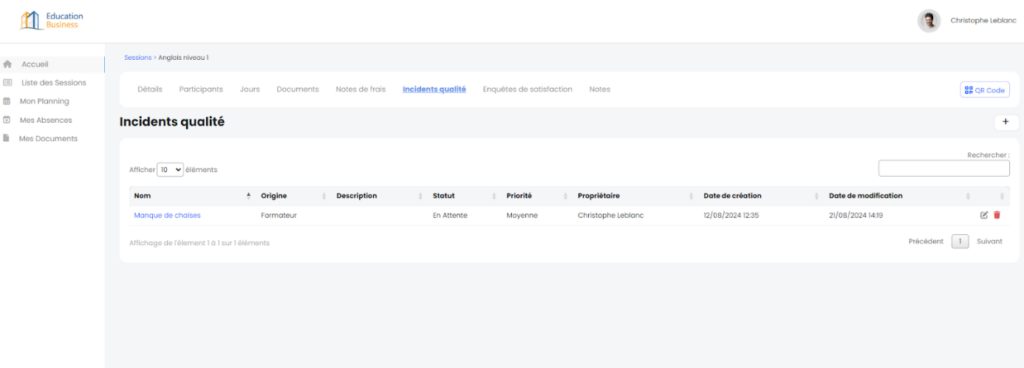
2.6 Quality Incidents
The “Quality Incidents” tab allows the teacher to view the quality incidents related to a session.
To create a new one, click on the “+” icon.
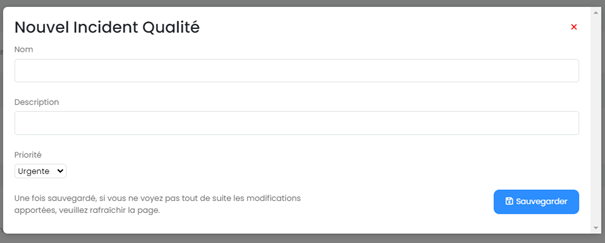
2.6.1 Recording
When the teacher clicks the “+” button, a window opens to fill in the details of the incident and its urgency.
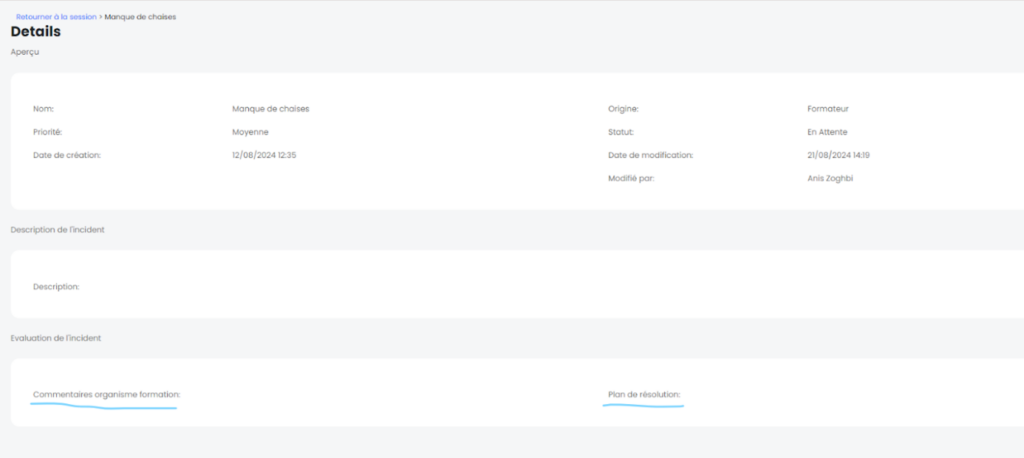
2.6.2 Resolution
To access the details of a quality incident, click on its name.
The organization has access to the quality incidents recorded by the teacher.
Once the incident is resolved, the organization can add comments, which will be displayed in the incident details under the fields “Organization Comments” and “Resolution Plan.”
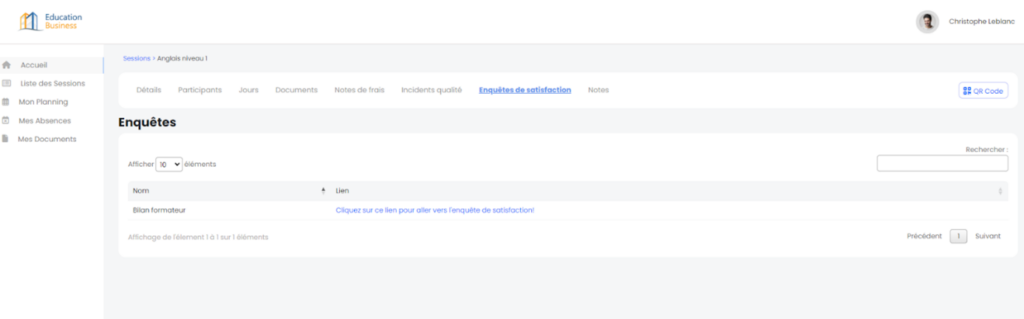
2.7 Satisfaction Surveys
The “Satisfaction Surveys” tab represents the surveys that a teacher must complete for a given training.
These surveys are different from learner satisfaction surveys.
To access these surveys, click on the blue link.
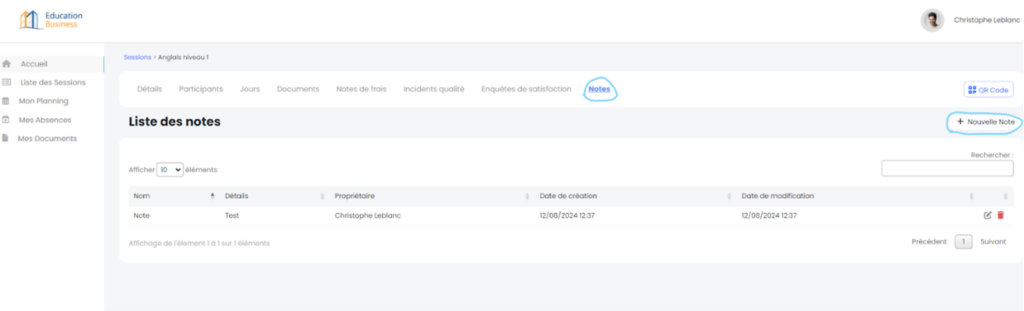
.2.8 Notes
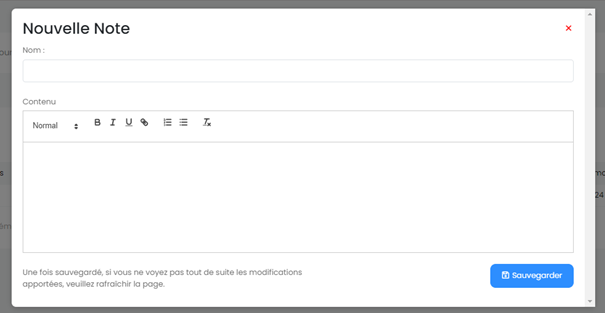
The “Notes” tab allows recording notes on a given session. To create a new one, click on “New Note.”
When the teacher clicks on “New Note,” a window opens to fill in its content.
2.9 QR Codes
Prerequisite: The learner portal is configured for the environment.
The “QR Codes” button generates QR codes for the learner portal.
If the organization wants the teacher to give participants in a session access to the learner portal, click this button.
Participants will need to scan their corresponding QR code to access their portal

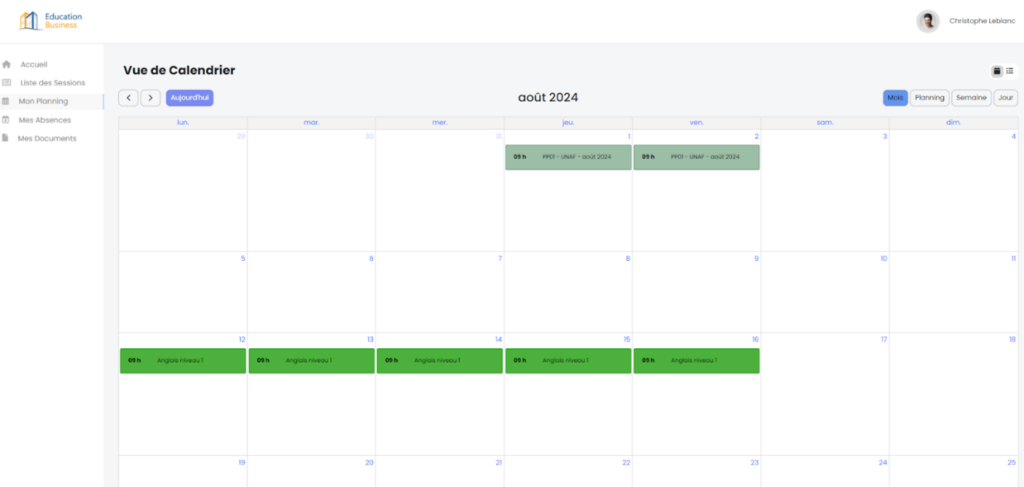
3- My Schedule
The “My Schedule” tab displays all the lectures the teacher has or will teach.
The teacher has the choice between several display modes (month, week, day, and list).
The teacher can directly access a session by clicking on the name of a lecture.
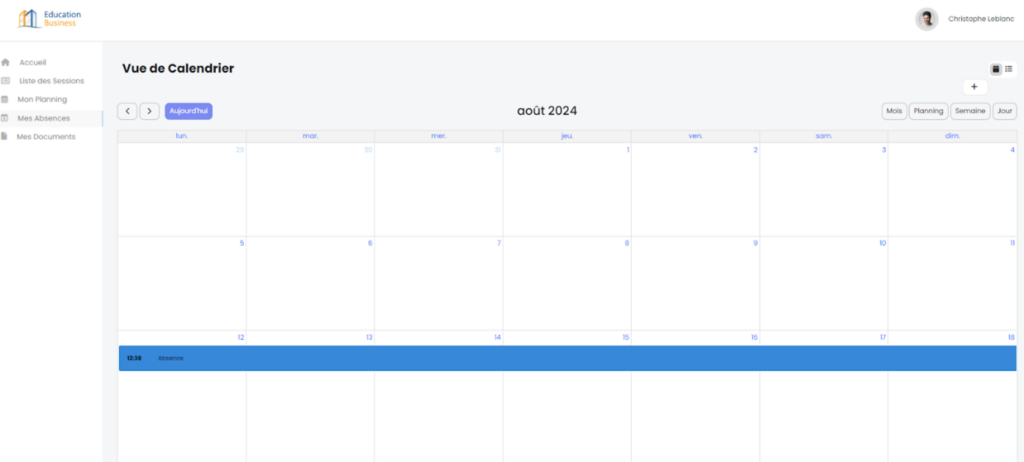
4- My Absences
The “My Absences” tab allows recording periods of absence for a teacher.
The teacher has the choice between several display modes (month, week, day, and list) and can view their absences.
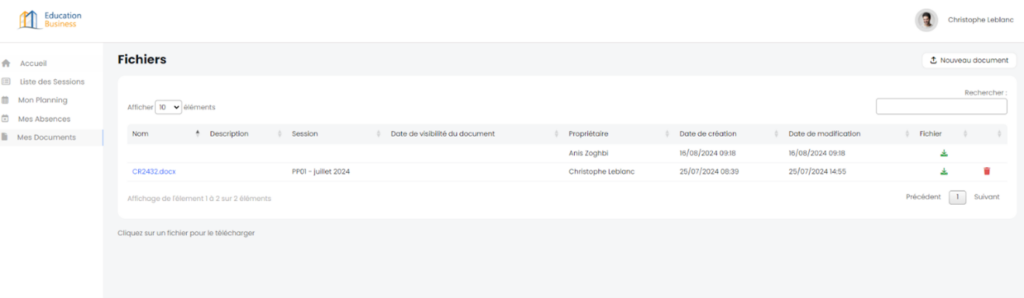
5- My documents :
The “My Documents” tab allows the teacher to view all the documents that the organization wishes to share with them or that they have recorded themselves.
If the organization requests a document from the teacher, they can upload it in this section so that it is visible only between them and the organization.
To record a new document, click on “New Document.”